It is broken down into a series of easy to follow steps. Clicking on the Start Trace Wizard button will begin the Trace Wizard.
Tracing requires DreamPlan to be in 2D Blueprint rendering mode. DreamPlan will automatically switch to 2D Blueprint mode when the Trace Wizard is started.
The first step in the Trace Wizard is selecting the image to trace over. Typically, images that contain floor plans or lot layouts are used for the trace image. These can be obtained from home builders, web searches or even scanned blueprints.
Generally, the larger an image is size (pixels) the easier it is to work with.
Click the Browse for file... button to select a trace image.
Choose the name of the Story from the drop down list that you would like to add a Trace image and start the Trace wizard.
When the image is loaded and the correct story is selected, click the Next button to continue with the Trace Wizard.
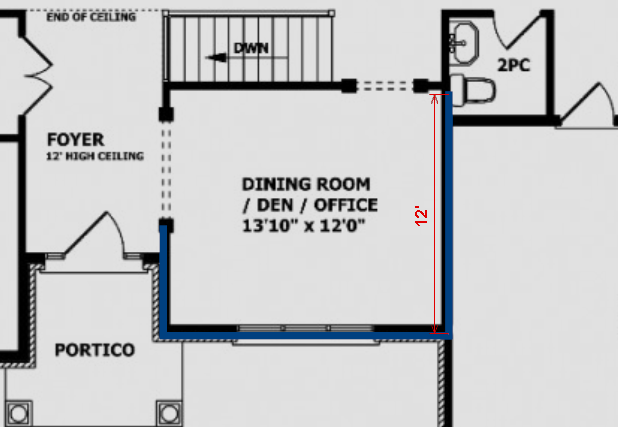
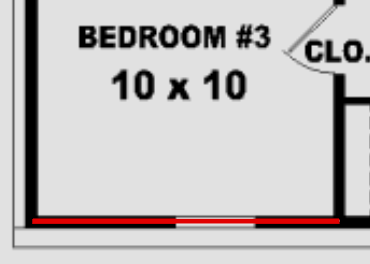
After the image is loaded, it must be calibrated to match DreamPlan. To do this, find a feature (e.g. wall, property line, size graph) on the trace image with a known length.
To begin the calibration step, click the Start Calibration button. Click the starting point of the feature on the trace image. A red calibration line will appear. Move the line to the end point of the feature and click again.
After the end point is selected, enter the length of the feature:

After a valid length is entered, the trace image will be resized to match the scale used by DreamPlan. NOTE: The maximum size of a project is 328' X 328' (100m X 100m).
Click the Finish button to complete the Trace Wizard.
Click the Cancel button to return the Start Trace Mode.